
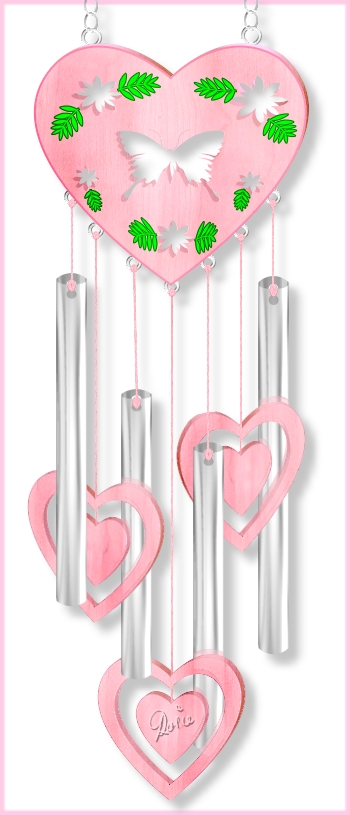
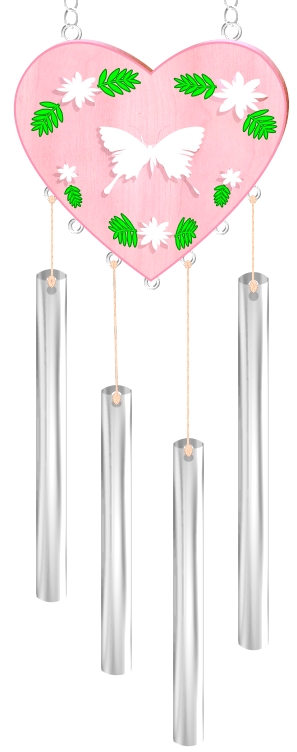
VALENTINE HEARTS WIND-CHIME PI VERSION: 12 (also suitable for PI 10. 8/8.5/XL etc). LEVEL: Intermediate - though it should be suitable for a Beginner with basic experience of the Path Tools. MAIN TOOLS & COMMANDS USED: Path Drawing Tool, Path Edit/Align, Easy Palette presets, Photo/Color/Color Balance, Continue Draw, Outline Drawing Tool, Object Paint Eraser, Transform Tools/Resize & Rotate and Flip, Retouch Tools/Dodge & Burn, Line & Arrow Tool. TERMS OF USE: Please Read - Thank You! |
|
|
|
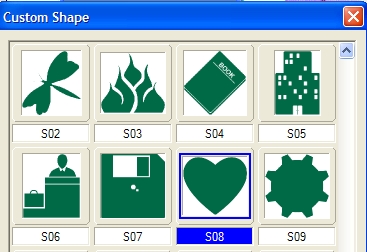
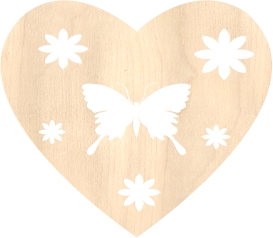
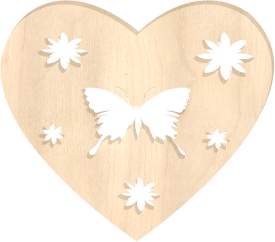
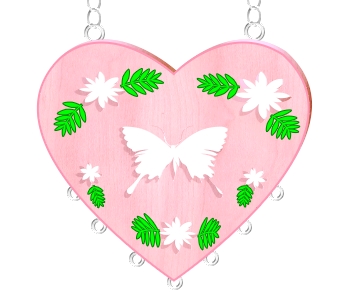
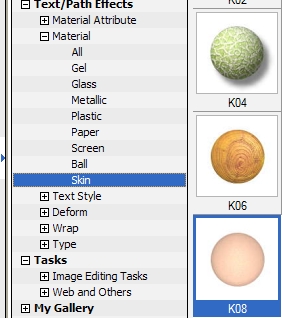
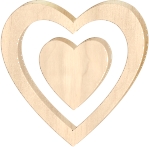
THE MAIN HEART 1. Open a new canvas, 350 x 800 pixels with a white or pastel background. 2. Using the Path Drawing Tool, Custom Shape - Heart S08 (see left): Mode - 3D Round: Width 1: Depth 30: draw a shape approximately 275 x 240 pixels. Now fill this with a wood preset of your choice. I am using the woodno9 preset from my own Wood Selection 2 presets which you are welcome to download from my website at Rosie Hardman.com/PI Presets. I have turned the grain in this wood however by going into the Material Box/Color/Texture tab and clicking on the Options tab. I then checked the 90o box and clicked OK twice.
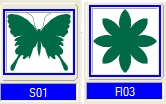
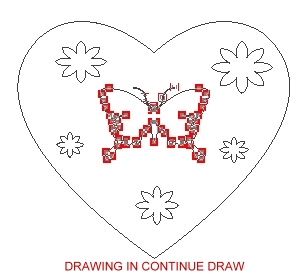
3. Now go into Continue Draw mode. You may choose to use different shapes for your cut-outs if you wish but for the purposes of this tutorial I am using Custom Shapes S01 (Butterfly) and Fl03 (Flower).
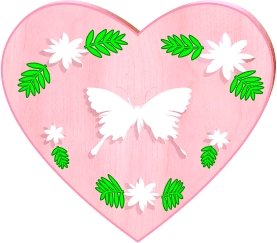
4. Draw a butterfly in the centre of your heart and flowers of various sizes as shown. DO NOT WORRY if your butterfly is not dead centre as this can be aligned in Path Edit. Return to 3D Round Mode. :-)
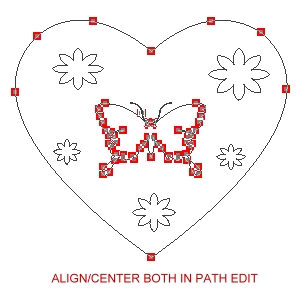
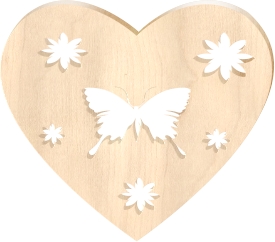
5. To centre your butterfly, go into Path Edit and click anywhere on the background to deselect all the paths. Now, keeping your finger on the Ctrl key on your keyboard, select the Heart and the Butterfly paths. 6. Take your finger OFF the Ctrl key and Right Click/Align/Center Both (OR you can use the Align button on the Attribute Toolbar if you wish of course).Take your finger OFF the Ctrl key and Right Click/Align/Center Both (OR you can use the Align button on the Attribute Toolbar if you wish of course). Return to 3D Round Mode.
Your object should now look like the one on the left.
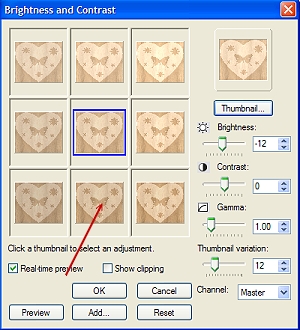
7. Right Click/Duplicate this object. Using the original, back copy of the heart click on Photo/Light/Brightness & Contrast and click on the bottom, centre square twice to darken the heart.
8. Offset the two hearts as shown and then reselect the dark heart.
9. Using the Retouch Tools/Dodge lighten the area on the top curves of the shape as shown. Then use the Retouch Tools/Burn to darken the other parts as shown. 10. Right Click/Select All Objects and Merge As Single Object.
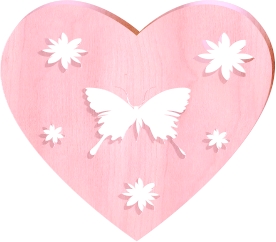
11. Now click on Photo/Color/Color Balance and use the squares to colour your heart pink. This will differ with different woods but I clicked on the right-centre, bottom-right, and bottom centre squares ONCE EACH to achieve my colour. NOTE: If you are using a different combination of squares to achieve your colour, make a note of what you used, so you can use the same on the smaller hearts later!
12. Now select the Custom Shape Fl12 (Leaf), Color Bright Green Hex#00FF00: Mode 2D: Check Border - Color - Darker Green Hex#008800: and draw some small leaf shapes to put on your heart. 13. Make them different sizes and shapes and use the Transform Tools, Rotate & Flip, to change the angles of your leaves to create a design something like the one opposite. 14. I have added a darker pink outline to my heart using the heart path shape again, which I then changed to 3D Pipe Mode: Width 1: Depth 1. You could also use the Outline Tool heart (edited where necessary) in 2D to do this. The colour I used was Bright Pink Hex#FF6282. This is optional though.
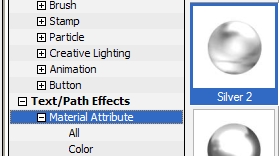
15. Now to make the hanging rings and chains. Using the Outline Drawing Tool, Shape - Circle: Color - Silver 2 preset (shown left) from the Easy Palette/Text/Path Effects/Material Attribute Gallery/Metallic: Mode - 3D Round: Width 2: Depth 30: draw a shape 15 x 15 pixels.
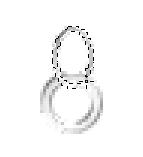
16. Using the same tool but the Ellipse shape, same Color and mode, Width 1: Depth 30: draw a small shape approximately 14 x 21 pixels. Put this in place as shown left.
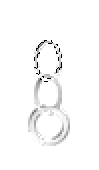
17. Right Click/Convert Object Type/From Text/Path to Image and then use the Object Paint Eraser to erase the part of the link as shown in close up left.
18. Right Click/Duplicate this link and add to the chain as shown. Right Click/Merge the 3 objects as a single object. 19. Right Click/Duplicate the ring and chain then on each chain Right Click/Arrange/Send to Back. 20. Put in place as shown. Right Click/Select All Objects and then Merge As Single Object.
|
|
|
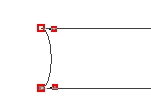
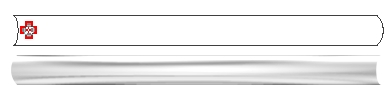
THE CHIMES 21. Continuing to use the same tool and preset but the Circle shape, Mode 3D Round, Width 1: Depth 30: draw a small circle 13 x 13 pixels. 22. Right Click/Duplicate this ring 6 times and put in place on the heart as shown. Then select the Heart and Right Click/Arrange/Bring to Front. 23. Right Click/Select All Objects and Merge as Single Object. 24. Now open a new canvas, 400 x 200 pixels. 25. Using the Path Drawing Tool with the same silver preset you used for the rings/chain, Shape - Rectangle: Mode - 3D Trim: Width - Maximum possible: Depth 30: draw a shape approximately 365 x 27 pixels as shown left. 26. Go into Path Edit and convert the two short sides to Curves. 27. Leave the right-hand side as it is but on the left edit the line into a shallow curve using the control points and handles as shown. 28. Exit Path Edit and return to 3D Trim mode. Right Click/Duplicate this object and use the Transform Tools/Rotate and Flip to flip it horizontally. 29. Now, select the first of the shapes and go into Continue Draw Mode. Using the Circle shape, draw a small circle near the left hand end - then return to 3D Trim Mode.
30. Do the same with the second object as shown.
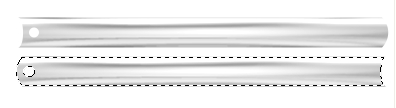
31. Keep the second object selected and click on Photo/Light/Brightness & Contrast and click on the bottom, centre square 3 TIMES. Right Click/Arrange/Send to Back. 32. Now align the two pieces as shown. Select both pieces and Right Click/Merge As Single Object.
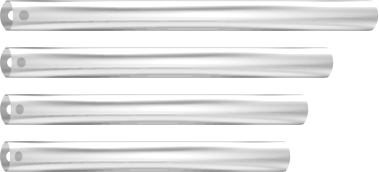
33. Right Click/Duplicate this object 3 TIMES. 34. Now use the Transform Tools/Resize to make the chimes 4 different lengths as shown.
35. Select all the chimes and use the Transform Tools/Rotate & Flip to flip them 90o to the right. Move them to the main canvas. You can now close the small canvas.
36. Put the chimes into approximately the right places under the two outside hanging rings on the heart and then the two alternate rings as shown.
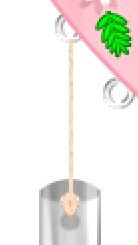
37. Using the Line & Arrow Tool, Straight Lines, Color - the K08 preset from the Easy Palette/Text/Path Effects/Skin Gallery (see left), Mode - 3D Round: Width 1: Depth 30: draw lines from the centre of the bottom of the rings to the chimes as shown. You can then readjust the position of the chimes so that the string fits perfectly (see left).
38. Now use the Outline Drawing Tool on the Ellipse shape with the same preset as the strings, Width 2: Depth 30: to draw a very small ellipse to represent the 'knot' on the chime (see left).
39. Right Click/Duplicate this ellipse enough times to complete knots on all the chimes as shown. Make the ellipse smaller and put in place on all the rings in the same manner. NOTE: DO NOT Merge these objects yet as you will need to Duplicate them again for the hanging hearts.
|
|
|
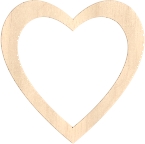
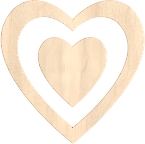
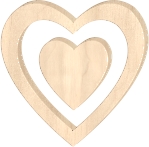
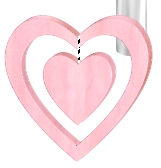
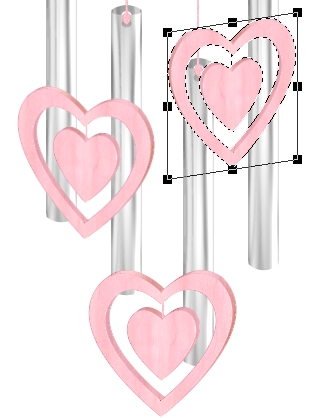
THE HANGING HEARTS 40. Using the same tool and settings as in Instruction 2, draw a heart 145 x 145 pixels and then go into Continue Draw Mode. 41. Now draw another heart path, 110 x 110 pixels. Don't worry about it being in the centre! 42. Exit Continue Draw and return to 3D Round Mode. Go into Path Edit. 43. Right Click/Align/Center Both. Exit Path Edit. 44. Now draw another Heart 70 x 70 pixels inside the first two. 45. Select both objects and Right Click/Align/Center Both. Right Click/Merge As Single Object. 46. Right Click/Duplicate this object. Using the original, back copy of the 2 hearts click on Photo/Light/Brightness & Contrast and click on the bottom, centre square twice to darken the heart. 47. Offset the two hearts as shown and then reselect the dark heart. 48. Using the Retouch Tools/Dodge lighten the area on the top curves of the shape as shown. Then use the Retouch Tools/Burn to darken the other parts as shown. 49. Now apply the pink colour to BOTH pieces in the same way that you used in Instruction 11.
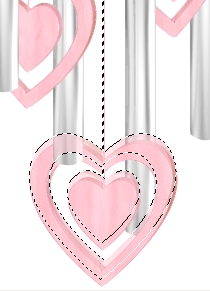
50. Using the Line & Arrow Tool again with the same settings as you used for the strings (You should be able to get these settings merely by changing tool and then clicking on one of the string objects) draw a line as shown. 51. Now select ALL the string and knot objects (probably easiest done in the Layer Manager) and use the pink colouring method on them that you used for the hearts.
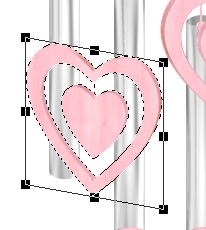
53. Select the three parts of your heart object and Right Click/Merge As Single Object then Right Click/Duplicate the heart twice and use the Transform Tools/Rotate and Flip to flip one copy horizontally. Put in place as shown left with the flipped copy on the right.
54. Now use the Transform Tools/Slant to Slant the left and right hearts as shown - do this by slanting on the CENTER SIDE nodes as shown left.
55. Then narrow the two side hearts slightly using the Transform Tools/Resize. Make them slightly different sizes for the best effect. 56. Now draw three more strings between the rings and the hearts and colour them pink as before. 57. Select one of the knots on the rings holding the chimes and Duplicate it 3 times/ Put these copies of the knot onto the rings holding the strings to the hearts.
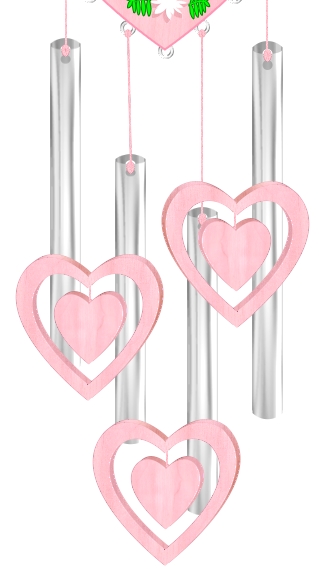
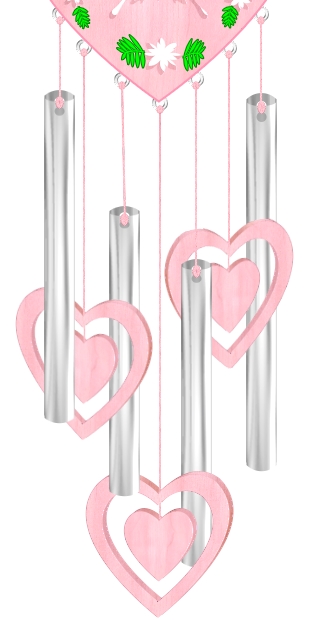
58. At this stage I now recommend that you select each individual chime or heart, it's string and two knots and Merge As Single Object as this makes the hanging parts easier to work with it the next bit - i.e. you end up with 7 separate hanging objects, complete with strings and knots. 59. Now arrange the hearts between the chimes using Right Click/Arrange Send Backward until the look like the illustration on the left (or similar - it doesn't matter if yours are in a slightly different order but if they are, be sure to get the reflections in the next section correct, if you are doing them.).
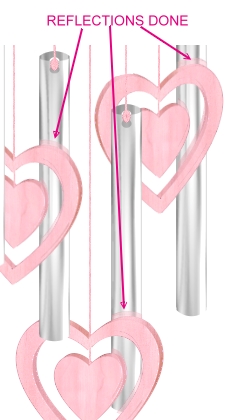
60. OPTIONAL: As the chimes are reflective surfaces, there would be a reflection of the hearts on them. If you wish to make these, they are pretty simple to do. Just select a hanging heart object and Right Click/Duplicate. Now Right Click/Properties and make the Transparency 50%. Slightly offset the transparent copy as shown. Now use the Object Paint eraser to erase ALL of the transparent object that doesn't fall on the chime behind and then send the 'reflection' behind the heart as shown left.
Repeat with the other two hearts and you should get a result the same or similar to the one opposite.
60. I also selected each heart and using the Retouch Tools/Burn on the settings shown left, added a little shading just to give the object a little more visual interest.
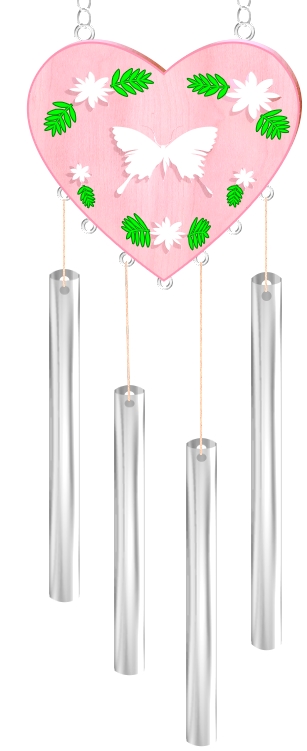
61. All that remains now is to Merge all parts of your wind-chime and add a shadow - mine was a mid-grey colour as I felt black was a bit overpowering for this delicately coloured object.
ready to play on your heart-strings! |
 |
|
|
Free Spirit Graphics If you would then like an invitation to join, please Email Me. We'd love to have you along! |
|
|
If you need
any help - or want to make suggestions to improve this tutorial - or for new ones |
|


This site © Rosie Hardman-Ixer 2001/2/3/4/5 |