
ARCHED WINDOW PICTURE FRAME PI VERSION: 6/7. LEVEL: Beginners MAIN TOOLS USED: EasyPalette/Wrap Gallery/Text Wrap: Path Tools: Transform Tools NOTE: A similar result should be possible in PI6 but the glass preset shown is not available in that version. TERMS OF USE: Please Read - Thank You! |
|
INSTRUCTIONS |
|
|
IMPORTANT NOTE - PLEASE READ! When drawing shapes which are later to be used in the Wrap Galleries it is essential that these shapes are drawn to size - i.e. you draw them to the size specified with the Path Drawing Tool. Drawing them approximately to size and then using the Transform Tools to resize them is NOT the same thing and the Wrap Galleries will not work properly if you do this. You will end up with a tiny little shape that does not look like the one in the tutorial. If, for any reason, you cannot draw the shape to size using the numbers at the bottom left of the PI workspace for reference (inexperience with the mouse, shaking hands etc), and HAVE to use other tools to correct the size of your path shape - then you will need to Right Click/Convert Object Type/Reset Text/Path Object before you continue. |
|
   |
THE BASIC WINDOW SHAPE
1. Open a new canvas - 250W x 325H pixels.
2. Using the Path Tools: Shape - Rectangle: Colour - grey: Mode - 3D: Border - 3: Depth - 30: - draw a shape 20W x 45H pixels (watch the numbers at the bottom left-hand side of the screen when drawing).
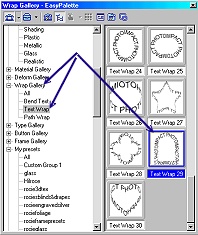
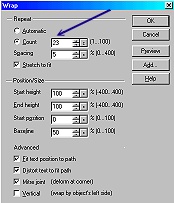
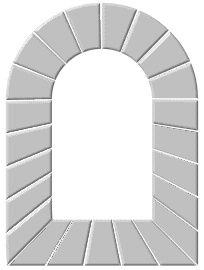
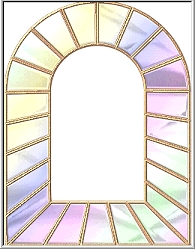
3. In the EasyPalette/Wrap Gallery/Text Wrap/Text Wrap 29 - Right Click/Modify Properties and Apply - change the settings to those shown - Count - 23 Your pic should now look like the one opposite. |
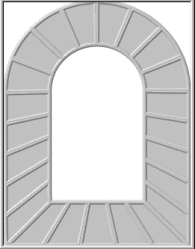  |
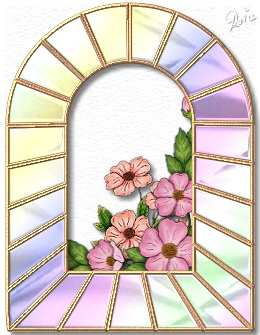
MAKING THE LEADING 4. Using the Transform Tools/Resize - stretch the shape to fit your canvas if you wish. 5. Right Click/Duplicate the shape & change the Mode of the duplicated piece to 3D Pipe (Border 2). 6. Right Click/Select All Objects. Right Click Align/Center Both. Tip! You might like to save these two pieces to your EasyPalette at this point - for future use? 7. All that remains is to use your EasyPalette presets to fill your picture frame. Here I have used Copper 6 from the Material Attribute Gallery and Glass L12 from the Material Gallery (To get the same effect as my example, Right Click/Shadow - UNcheck the Shadow box and OK. Then set the Border to 3 in the Path Panel). 8. Right Click/Select All Objects/Merge As Single Object. |
|
THE FINISHED PICTURE Use your finished picture to frame a precious photo or any other object you have created! Try experimenting with stone and wood presets too - to make different types of window frames! |
 |
|
|
Free Spirit Graphics If you would then like an invitation to join, please Email Me. We'd love to have you along! |
|
|
If you need any help - or want to make suggestions to improve this tutorial - or for new ones |
|
This site © Rosie Hardman-Ixer 2001/2/3 |