
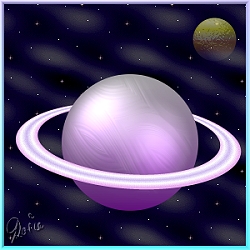
SATURN'S RINGS PI VERSION: 7. LEVEL: Beginners MAIN TOOLS USED: ZMerge Tool: Path Tools: Transform Tools TERMS OF USE: Please Read - Thank You! |
 |
INSTRUCTIONS |
|
|
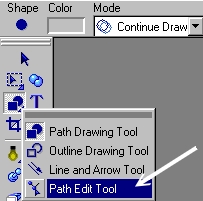
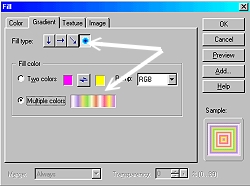
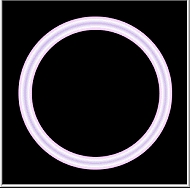
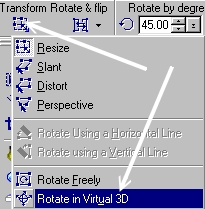
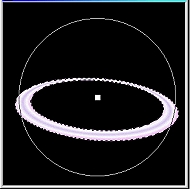
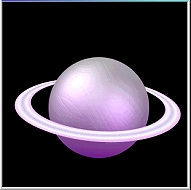
THE RINGS 1. Open a new canvas - 300W x 300 pixels - background colour black. 2. Using the Path Tool - Shape-Circle: Color-White: Mode 2D draw a circle approximately 250W x 250H pixels. 3. Change the Mode to Continue Draw and draw another circle within the first. (If necessary Click on the Path Tools/Path Edit Tool and move the inner ring so that it is in the centre of the first). Return to 2D Mode. Your pic should now look like illustration 1. (If it doesn't - do check that your Even-Odd fill box is checked in the Path Panel/Options!) 4. Click on Edit/Fill/Gradient - and fill with a gradient of your choice with the settings shown. Note: A gradient with LOTS of colours works best to form defined rings. 5. Click on the Transform Tool/Rotate in Virtual 3D and use your mouse to turn the rings into place (Sliding the mouse upwards on the graphic). Your rings are made! |
|
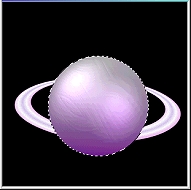
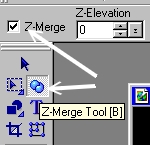
SATURN 6. Using the Path Tool - Shape Circle: Mode-3DRound: draw a circle and fill this with a preset of your choice. 7. Select the rings - Click on the ZMerge Tool and check the box shown. 8. Select the circle - Click on the ZMerge Tool and check the same box. 9. Adjust the placement of the rings if necessary - and there's your planet! |

|
|
 |
|
|
Free Spirit Graphics If you would then like an invitation to join, please Email Me. We'd love to have you along! |
|
|
If you need any help - or want to make suggestions to improve this tutorial - or for new ones |
|
This site © Rosie Hardman-Ixer 2001/2/3 |