
RUDOLF! PI VERSION: 7. LEVEL: Beginners MAIN TOOLS USED: Path Tools: Burn Tool (Optional) TERMS OF USE: Please Read - Thank You! |
 |
INSTRUCTIONS |
|
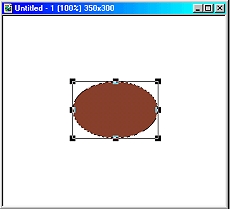  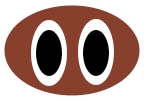  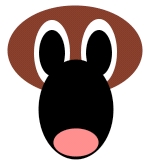    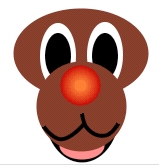   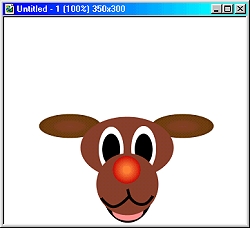 |
THE HEAD - PART ONE 1. Open a new canvas 350W x 300H pixels. 2. Using the Path Tool, Shape Ellipse, Colour Dark Brown, Mode 2D, draw an ellipse approximately 135 x90 as shown. 3. Using the same tool but colour white, draw a second ellipse approximately 35 x 65 pixels. Hold the Ctrl key down and drag a copy of this and put in place as shown. 4. Path Tool - Colour black, draw another ellipse approximately 25 x 45 pixels. Hold the Ctrl key down and drag a copy of this and put in place as shown. 5. Now draw another ellipse approximately 75 x 100 pixels and put in place.
6. Path Tool - Shape Ellipse - Colour pink, draw another ellipse approximately 45 x 30 pixels and put in place . 7. Path Tool - Shape-Circle - Colour Dark Brown - draw a circle approximately 90 x 90 pixels for the nose and put in place over jaw & tongue..
8. Using the Line & Arrow Tool/Spline - Width 2, Style and Arrow - Plain (set this in the Path Panel if necessary) - draw two curving lines as shown for Rudolf's muzzle.
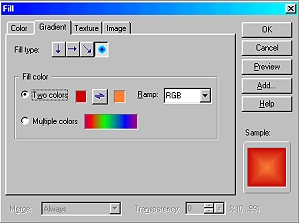
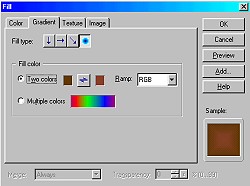
9. Path Tool - Shape Circle - draw a circle approximately 40 x 40 pixels. Click on Edit/Fill/Gradient and fill with the two colours shown. Put nose in place.
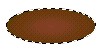
10. Path Tool - Shape Ellipse - draw an ellipse approximately 90 x 35 pixels. Click on Edit/Fill/Gradient and fill with the two colours shown. Hold Ctrl key down and drag to duplicate this shape and put both ears in place. Shift/Click on both ears to select and then Right Click/Arrange/Send to Back. |
|
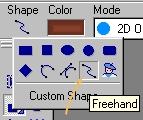
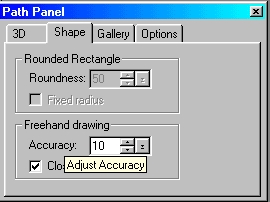
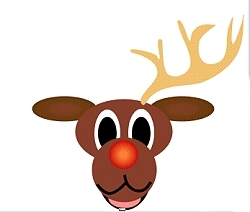
THE HEAD PART TWO - THE ANTLERS 12. Use the Path Tool - Freehand, Colour-Gold, Mode 2D and in the Path Panel set the Accuracy to 10. 13. Draw Rudolf's first antler - an example is shown opposite. Hold the Ctrl key down and drag a copy of this. Using the Transform Tool/Rotate and Flip/Flip Horizontally. Put in place as shown. Shift/Click to select both antlers. Right Click/Arrange/Send to back. 14. Using the Burn Tool shade each of the antlers as shown. Optional If you wish, you can add a texture to Rudolph's coat with the Texturiser Plug-in. 15. Right Click/Select all objects and Merge As Single Object.
|
|
|
 |
|
|
Free Spirit Graphics If you would then like an invitation to join, please Email Me. We'd love to have you along! |
|
|
If you need any help - or want to make suggestions to improve this tutorial - or for new ones |
|
This site © Rosie Hardman-Ixer 2001/2/3 |