
ANIMATED WINDMILL PI VERSION: 6. LEVEL: Beginners MAIN TOOLS USED: Layer Manager: Transform Tools: Gif Animator NECESSARY DOWNLOADS: TERMS OF USE: Please Read - Thank You! |
 |
INSTRUCTIONS |
|
|
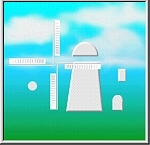
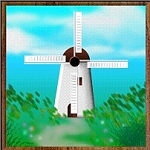
FRAME 1 1. Open the Windmill ufo kit in PI 6. This contains the basic Path Shapes for your mill - the building and roof, door, window, sails and sails hub. You may colour these any way you wish and provide any background or frame for your picture. 2. When you have finished colouring the mill & background, Right Click and Merge it as one picture (hold down the Shift or Ctrl key and click on each item of your background, then Right Click and Merge) -leaving the sails and sails hub separate. 3. Centre the hub on the sails, select both items, Right Click and Merge as Single Object. 4. Place the Sails section in place on the mill - do not merge with the background. Then go to the Easy Palette/Layer Manager, click on the sails section and then on the little padlock to lock the sails in place. NOTE: It is also useful to check that the Point of Rotation is correct at this point. keeping the sails and hub selected click on the Transform Tools/Rotate Freely and check that the little circle with crosshairs through it is bang in the middle of the hub. If it isn't - move it there with your mouse. This should ensure that the sails turn correctly. 5. Deselect the sails section and save the completed graphic, as a jpg (or png) to a folder of your choice (I usually do this to the Desktop and just called it Frame 1). |
|
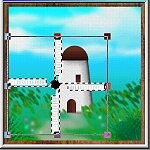
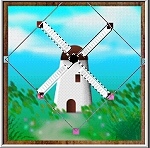
FRAME 2 6. Reselect the Sails section. 7. Using the Transform Tool, set the 'Rotate by degree' box to 45.00 and click on Rotate Clockwise once (the right hand curving arrow). Your picture should now look like the illustration on the left. 8. Deselect the sails section and save this completed graphic as Frame 2. |
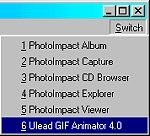 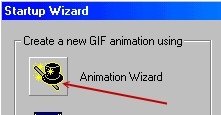 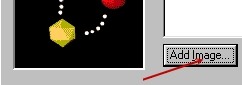 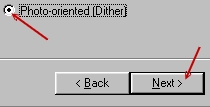 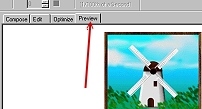     |
ANIMATING THE WINDMILL 9. Click on Switch/ULead Gif Animator 10. When Gif Animator opens, click on Animation Wizard. 11. Click on Add Image. Browse to your desktop - click on Frame 1 and Open. Repeat to add Frame 2. Click on Next. 12. Check the Photo-oriented (Dither) radio button and click on Next. 13. Click on Next in the following box and then Finish in the final box. 14. (If you want to see your mill in action you can click on the Preview tab here!) 15. Click on the Optimise tab and then on the Wizard button. 16. Click on the Yes (Recommended) button and then Next. 17. Click on the radio button Yes (Recommended for Photo-oriented images) and then Next. (As there are only two frames in this animation we can be generous with colours and leave this at 256 but in animations where there are more frames you will need to change this number to a lower figure to bring down the file size). 18. In the next box check Yes on all three radio buttons and Next. 19. In the next box click on Finish. 20. If you wish to Preview your animation again you can do so by clicking on the Preview tab and then the Start button in the Preview window. Close the Preview window to Save your animation. 20. Click on OK. 21. Click on File/Save and save your animation to your chosen folder. |
|
|
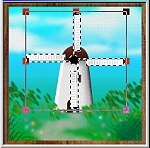
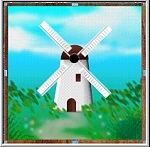
YOUR WINDMILL!!! Sit back and admire your work! |
 |
|
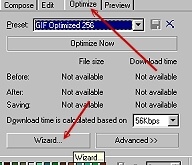
|
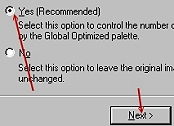
Free Spirit Graphics If you would then like an invitation to join, please Email Me. We'd love to have you along! |
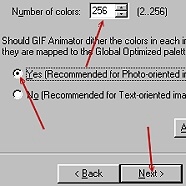
|
|
If you need any help - or want to make suggestions to improve this tutorial - or for new ones |
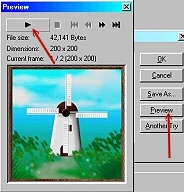
|
This site © Rosie Hardman-Ixer 2001/2/3 |