
MAKING STRIP LACE EDGINGS PI VERSION: 6. LEVEL: Beginners (but plug-in filter installation necessary) MAIN TOOLS USED: Kang Filter: Selection Tools NECESSARY DOWNLOADS: TERMS OF USE: Please Read - Thank You! |
|
INSTRUCTIONS |
|
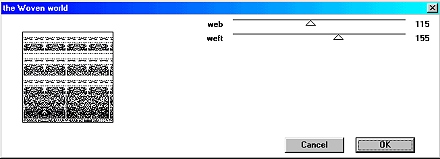 1. Open a new canvas - 400 x 400 pixels - background colour - any medium-dark colour you prefer. Minimise this canvas until later. 3. Open another canvas of the same size - background colour WHITE. 4. Click on Effect/ Kang 1/ The Woven World. 5. Move the Web and Weft sliders until you have a series of strip patterns of varying widths. (The picture shown in the Kang 1 window bears little resemblance to the one you will see when you click OK - so this part is very much a case of trial and error until you find a combination that works!). For the purposes of this tutorial I am setting the web at 115 and the weft at 155 as shown above. 6. Click OK. |
|
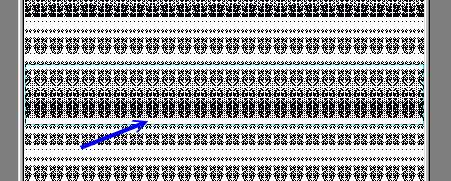 7. Using the Selection Tool - Shape Rectangle - select a row of pattern from the resulting graphic. It will help in the next stage if you include a clear strip of white on one side of the pattern when selecting this area. Click on Copy and Paste. |
|
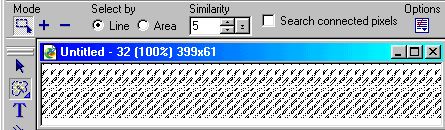 8. Drag the copy into its own canvas. Right Click and Merge. 9. Using the Selection Tools/Magic Wand Tool (have Select by Line checked: Similarity - 5 pixels: Search connected pixels UNchecked) - click on an area of white. 10. Right Click and Invert. 11. Right Click and Convert to Object. 12. Click on Edit/Fill - and fill with white or a gradient of your choice. |
|
 13. Open the canvas with the medium-dark background that you made in stage 1. Drag the lace selection to it. Voila! You have made a strip of lace! |
|
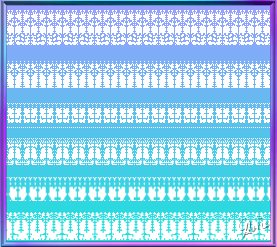
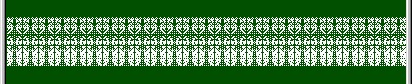
Other examples of lace edging made with the same method. |
|
 A picture with lace edging applied. (Tip: For this picture I mitred the corners of the lace strips using the Object Eraser. If you use the Object Eraser on Straight Lines and make one clean cut across the corner - then move the strip away so you can see the rest that needs erasing - and use the Eraser on Freehand for that - it's the easiest way. Also - if you can get one long side and one short side mitred - you can combine them - Right Click and Duplicate the piece - and use the Transform tool - to rotate it into position). |
|
 |
|
|
Free Spirit Graphics If you would then like an invitation to join, please Email Me. We'd love to have you along! |
|
|
If you need any help - or want to make suggestions to improve this tutorial - or for new ones |
|
This site © Rosie Hardman-Ixer 2001/2/3 |