
EASY CROSS-STITCH SAMPLER PI VERSION: 6. LEVEL: Beginners MAIN TOOLS USED: NECESSARY DOWNLOADS: TERMS OF USE: Please Read - Thank You! |
 |
INSTRUCTIONS |
|
|
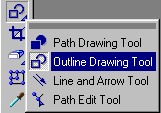
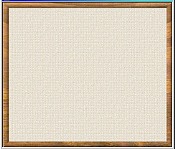
THE FRAMED CANVAS 1. Open a new canvas - 350W x 300H pixels. 2. Click on Copy and Paste to make a copy of the background. 3. Open the Easy Palette/Fill Gallery and Double Click on Magic Texture, MT080. Close the Easy Palette. 4. Right Click on the canvas background, Click on Properties and change the transparency to 60%. 5. Right Click and Merge 6. Using the Outline Drawing Tool, Shape Rectangle; Mode 3D Round; Border 6; Depth 30 - Draw a frame to fit the canvas. 7. Open the Easy Palette/ Fill Gallery and Double Click on Natural Texture, Wood 2. 8. Close the Easy Palette and Right Click/Merge the frame to the background. |
|
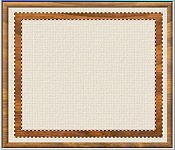
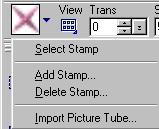
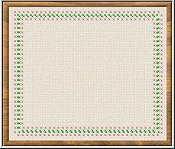
STITCHING - PART ONE. 9. Using the Outline Drawing Tool, Shape Rectangle; Mode 2D; Border 8; Draw a rectangle as shown. 10. Select the Stamp Tool and then Select the pink cross from the stamp ufos that you downloaded into your Stamps Folder - Trans 0; Scale 50; Spacing 100; Order Random; Placement Trail; Object Separate Objects. 11. Click on Effect/Paint on Edges - and watch the magic begin! 12. When the pink crosses have been stitched, click somewhere on your canvas to deselect the objects and the re-select your 2D rectangle and change the Border to 2. 13. Select the Stamp Tool as above but this time select the green cross from the stamp ufos (same settings) and repeat the Paint on Edges technique. 14. Once all the green crosses have been stamped, click somewhere on the canvas to deselect the objects. 15. Select the rectangle you have been using and delete this. Right click and Merge All. |
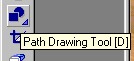 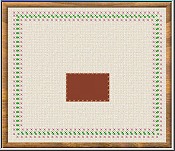 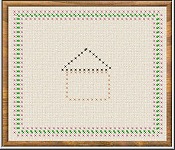 |
STITCHING - PART TWO... 16. Using the Path Tool, Draw a rectangle in the middle of the canvas and, using the orange cross this time, use the same Paint on Edge technique as above. Delete the Rectangle. Right Click and Merge All. 17. Using the same method as is 16, (Custom Shape: Triangle this time) draw a roof for the house using the black cross. (You made need to use the Transform Tool/Resize to stretch the roof sideways). Click somewhere on the canvas to deselect objects. Delete the triangle. Right Click and Merge All. |
|
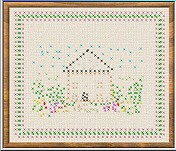
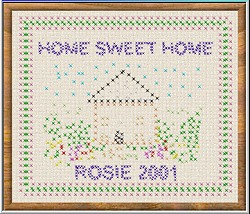
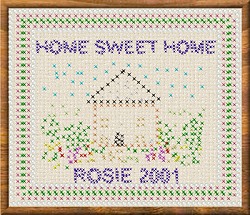
STITCHING - PART THREE 18. Now you can let your imagination run riot!!!! Using the rest of the coloured cross stamps provided you can draw a door, windows, flowers - anything you like - by stamping individual crosses into your design. A suggestion is shown opposite. Remember - because we opted for individual objects, you can deselect and move individual crosses if you need to! When you have drawn your house and garden, Right Click and Merge All. 19. Using the Text Tool - Font Arial; Size 25 - Add the Words HOME SWEET HOME (or words of your choice) at the top of the picture. 20. Using a darker stamp (I have used the dark blue one) - Scale 35; Spacing 50 - use the same Paint on Edges technique to put the lettering on the Sampler. This will take a couple of minutes to finish - be patient! When this is complete click on your canvas to deselect and then delete the lettering. If any individual letters need adjustment Zoom in to about 300% and you will find them easier to straighten out. Once you are happy with the lettering, Right Click and Merge All. 21. Use the same method to add your name and date to the bottom of the picture. 22. If you wish you can finish the Sampler with the bead supplied - Scale 100; Spacing 100; Lines-Straight Lines. All you need now is to find somewhere to hang your digital masterpiece! |
 |
|
|
Free Spirit Graphics If you would then like an invitation to join, please Email Me. We'd love to have you along! |
|
|
If you need any help - or want to make suggestions to improve this tutorial - or for new ones |
|
This site © Rosie Hardman-Ixer 2001/2/3 |